Learn your way around Webflow.
In Webflow, you can structure, build, and design your site across pages, branches, and locales. Webflow empowers you to create and manage dynamic content and data effectively and provides tools to analyze and optimize site performance. You can also share your work, solicit feedback, and finally, publish your site to dedicated environments (i.e., staging and production).
You can access Webflow from the Dashboard by clicking your site thumbnail or from Site settings by clicking Open site in the upper toolbar. The tools you have access to in Webflow differ depending on your site role (e.g., reviewer, content editor, etc.) so you can quickly access the tools you need — and forget about the tools you don't.
Multiple-user collaboration
Multiple teammates can collaborate on a site together in Webflow. To keep the design process fluid, you can hand off design control between your teammates and see where other people are working within your site in real-time.
Overview of the Webflow interface
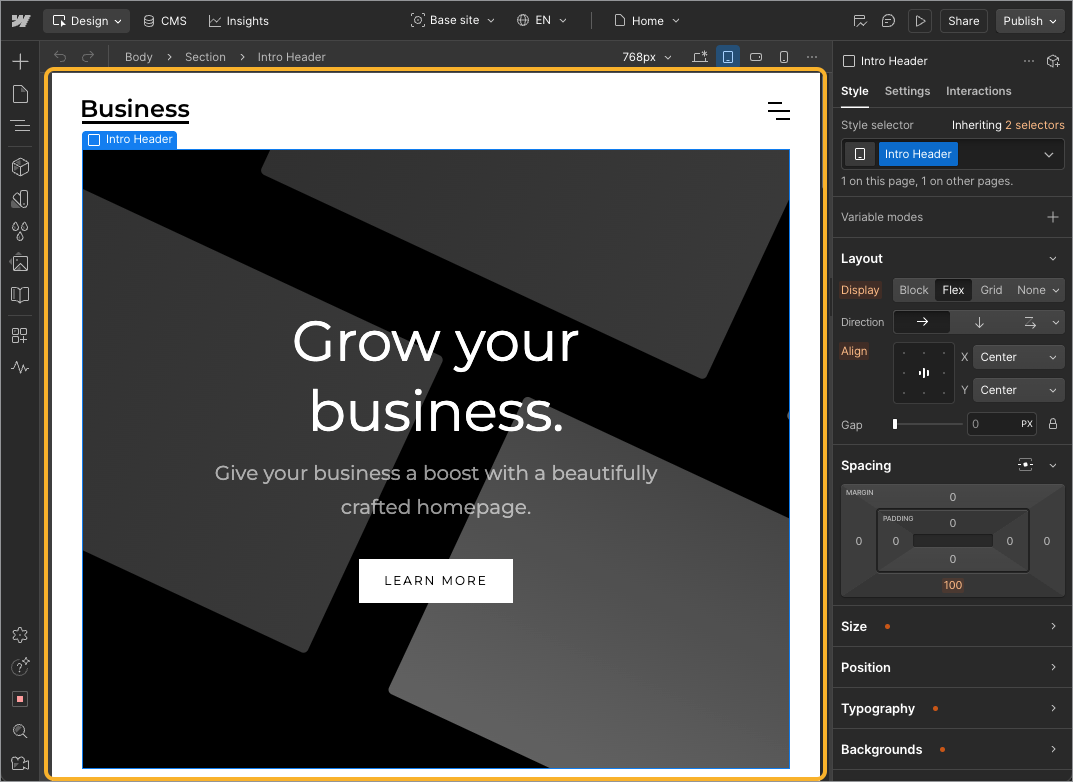
When you open your site in Webflow, the main screen that shows your site is the canvas. Surrounding the canvas are the following toolbars and panels:
- The top bar includes tabbed navigation, the context bar, and site actions (e.g., collaboration & publishing tools)
- The canvas bar includes undo/redo, breadcrumb navigation, expanded breakpoints, and canvas settings
- The left toolbar includes the main menu, various tool and navigation panels, settings, site audit, and tutorials
- The right toolbar includes element styles, settings, and interactions
Note
The tools you have access to in Webflow differ depending on your site role (e.g., reviewer, content editor, etc.).
The canvas
The largest area in Webflow is the canvas. This is where you can interact with the page and design in real-time. You can select elements, move them around, and edit content right on the page. Webflow saves your work automatically, but you can manually save your site by pressing Command + S (on Mac) or Control + S (on Windows).
The Component Canvas
The Component Canvas is a focused space for building and editing components outside the context of a page. On the Component Canvas, you can
- Design and manage components
- View and edit multiple variants side-by-side in automatically organized frames
Changes made on the Component Canvas affect every instance of that component across your site. Webflow saves your work automatically, but you can manually save your site by pressing Command + S (on Mac) or Control + S (on Windows).
The top bar
The top bar gives you quick access to the CMS, Analyze, Optimize, locales, a page switcher, and site actions.
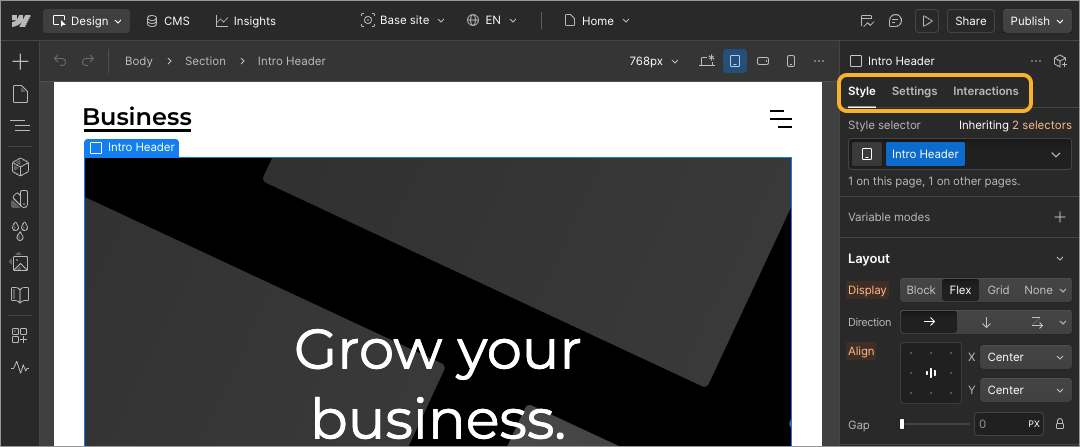
Tabbed navigation
The main tabbed navigation includes the Design tab (the canvas), CMS tab, and Insights tab.
Context bar
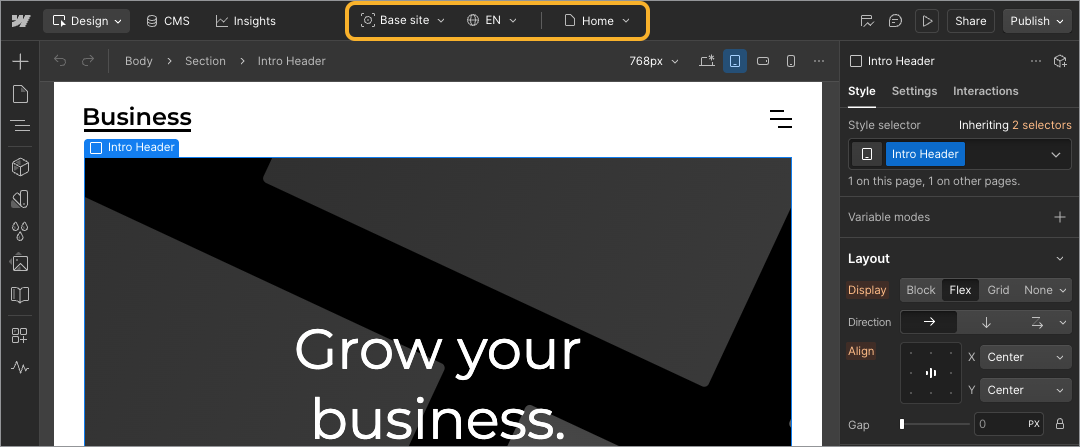
The context bar lets you manage site optimizations with Optimize and switch between locales, pages, Collection pages, and Collection items. It also indicates when you're editing the main component (rather than a component instance), as well as design approval status.
Site actions
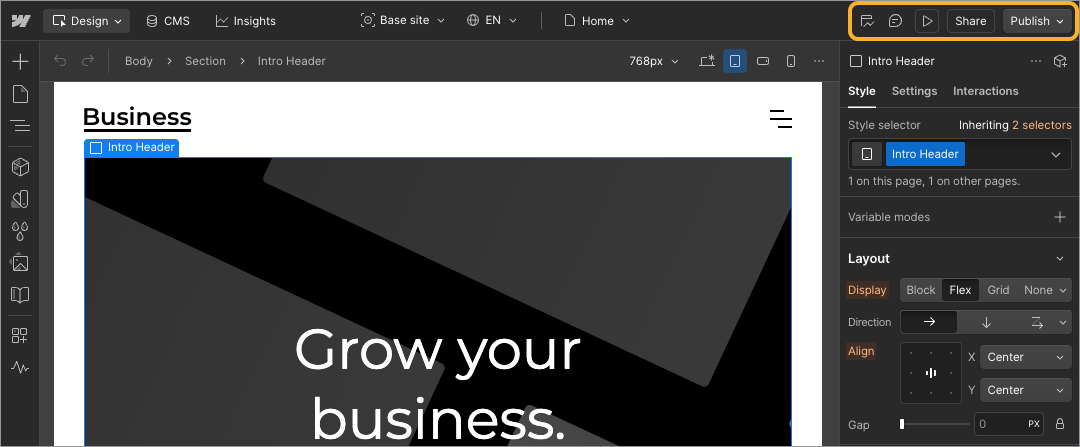
Site actions are related to the specific page you're on or the site itself. Team members collaborating on the site in real-time are also listed here with an avatar or count (e.g., "2"). Click their avatar to see more details.
-
Analyze mode — get Analyze page-level analytics and insights (e.g., how far do visitors scroll and where do they click)
-
Comments — review comments other team members left or add your own feedback/notes
-
Preview — switch to preview mode, where the page renders like it would for visitors in the browser
-
Share — generate a read-only site link for non-Webflow users and/or invite new site collaborators
-
Publish — you can publish your site to push your site changes to a stage domain and/or your production domain
The canvas bar
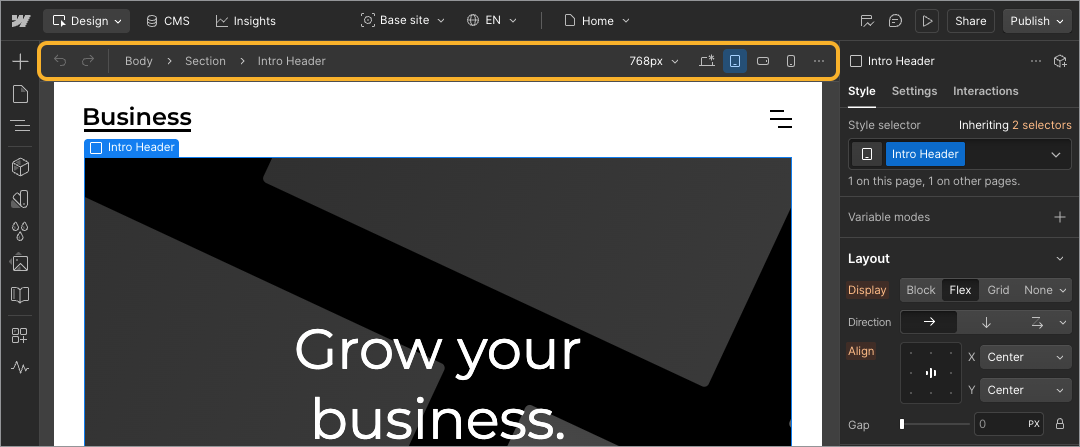
The canvas bar is positioned above the canvas by default, but you can move it below the canvas in canvas settings.
-
Undo and redo icons — quick revert changes or reapply changes
-
Breadcrumb navigation — breadcrumbs show you the element hierarchy of the selected element. You can click any part of the breadcrumb to select that parent element.
-
Canvas settings — click the current canvas size (e.g., 1440px) to open the canvas settings, where you can apply different options (e.g., rulers, guides, text zoom preview, etc.) and change the position of the canvas bar
-
Breakpoints — click a breakpoint icon to preview and edit how your site looks on different device sizes
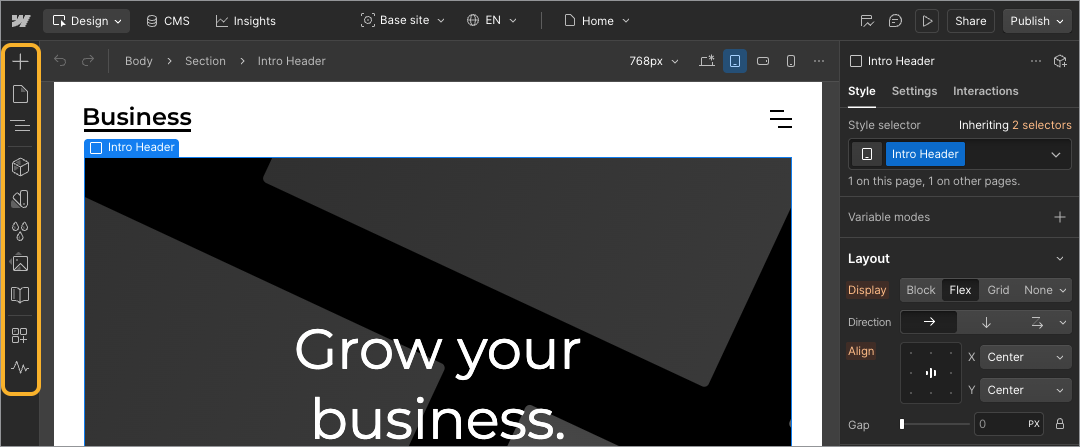
The left toolbar
The left toolbar contains the main menu and provides a set of panels with tools to help you structure your website. Each panel has a corresponding icon in the left toolbar and expands when the icon is clicked.
Main menu (Webflow logo)
Click the Webflow logo to access the main menu. From here, you can exit the site and go back to the Dashboard or access Site settings. The main menu also provides these options:
-
Quick find lets you locate elements, components, layouts, pages, collections, and apps. For example, you could search for "Container" and click it to add a new container to the canvas.
- Undo or redo your last action
- Export code
- Review keyboard shortcuts
- Open CSS preview
- Get help or send feedback
Panels and site activity log
-
Add panel — the Add panel (shortcut: A) allows you to add elements and layouts to your site from their respective tabs
-
Pages panel — the Pages panel (shortcut: P) allows you to organize and manage your site pages and page settings. You can access page settings and a smaller version of the Pages panel in the context bar.
-
Navigator panel — the Navigator (shortcut: Z) shows the element hierarchy on the canvas for the current page and lets you interact with those elements
-
Properties panel — the Properties panel (shortcut: K) lets you create and manage component properties; only visible when editing a main component
-
Components panel — the Components panel (shortcut: Shift + A) lets you create and add components to the canvas
-
Variables panel — the Variables panel lets you create variables that can be reused for a consistent design experience
-
Style selectors panel — the Style selectors panel (shortcut: G) lets you view, rename, clean up, and search for classes and tags in use on your site
-
Assets panel — the Assets panel (shortcut: J) lets you upload and organize assets (e.g., documents, images, and animations) for use on your site
-
Libraries panel — the Libraries panel (shortcut: L) allows you to view, share, and install Libraries. Libraries are collections of reusable design resources — like components, variables, assets, and layouts
-
Apps panel — the Apps panel (shortcut: E) displays all installed apps available on your site and/or Workspace
-
Site Activity log — the Site Activity log gives you and your teammates valuable visibility into the most important design changes made to your site. It logs publish activity, backup creation and restoration, page creation, deletion, duplication, and renaming, and any changes to classes, components, and/or custom code.
Note
The Site Activity log is available for Webflow Enterprise customers and Enterprise partners. Any team member using design mode, build mode, or edit mode can see the Site Activity log and its details.
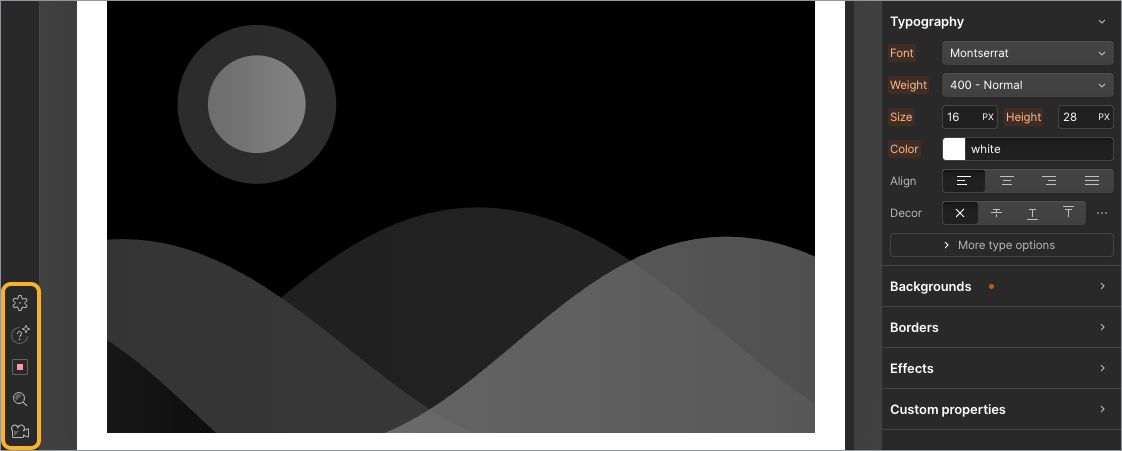
Settings, AI learning assistant, audits, quick find, and tutorials
-
Localize panel — manage your site's locales, visitor routing, and translation settings
-
Settings panel — adjust various settings, such as Search settings and Backup settings. You can also change the Webflow interface to be darker or brighter in the Interface tab
-
AI learning assistant — the AI Learning Assistant gives you AI-powered help as you build in Webflow
-
Audit panel — the Audit panel (shortcut: U) flags accessibility and SEO-related site issues and provides suggested solutions
-
Quick find — Quick find (shortcut: Command + E (on Mac) or Control + E (on Windows)) is a search tool that helps you speed up your workflow and boost your efficiency as you build your site in Webflow
-
Video tutorials panel — the Video tutorials panel provides a convenient way to watch all of Webflow's free video courses
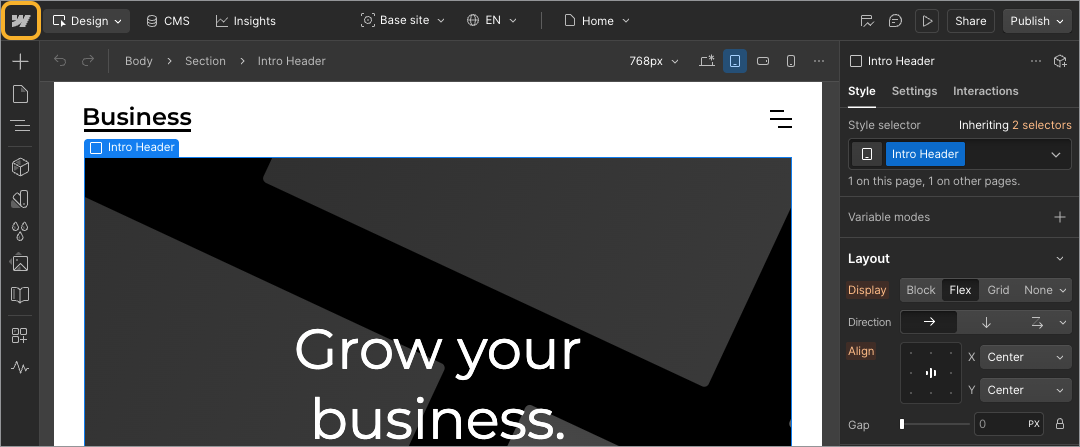
The right toolbar
The right toolbar contains panels that give you extremely granular control over your element styles, settings, and interactions.
-
Style panel — the Style panel (shortcut: S) lets you adjust all CSS properties available for a selected element. You can enter or choose these values in their appropriate fields to instantly apply the styles to your elements on the canvas.
-
Element settings panel — the Element settings panel (shortcut: D) provides access to various settings available for the currently selected element (e.g., link settings, custom attributes, component properties, etc.)
-
Interactions panel — the Interactions panel (shortcut: H) lets you create complex interactions and animations
FAQ
What browsers does Webflow support?
Webflow officially supports the last three major versions of all modern browsers, including Chrome, Edge, Firefox, and Safari. This browser support applies both to Webflow's platform and to published Webflow sites.
The degree of browser support depends upon features used (for example, filter has partial support in Edge). For features with limited support in some browsers, additional details can be found in their associated articles:
Webflow does not support Internet Explorer. While sites made in Webflow will continue to support all industry standard features supported in modern web browsers, we cannot guarantee that sites will function correctly in Internet Explorer.
Pro tip
You can determine your browser and operating system version with What's My Browser.
What screen resolutions/devices does Webflow support?
Webflow requires a mouse-and-keyboard device (i.e., desktop or laptop computer) with a screen width of at least 1268px. This requirement is the sum of the left and right toolbars and the canvas.
Why is Webflow an online/hosted app — why not a downloadable app?
Webflow is an online/hosted app because we believe web design tools should let you design in the browser and immediately reflect the results. Other reasons Webflow is a hosted app rather than a downloadable app include:
-
What you see is what you get (WYSIWYG) — everything you do in Webflow directly affects the HTML and CSS of your site and reflects how your published site will look.
-
Fast updates and improvements — as a hosted app, we can develop, test, and push new features and bug fixes to our servers in minutes, so you'll always run the latest and greatest version of Webflow without having to manually install updates.