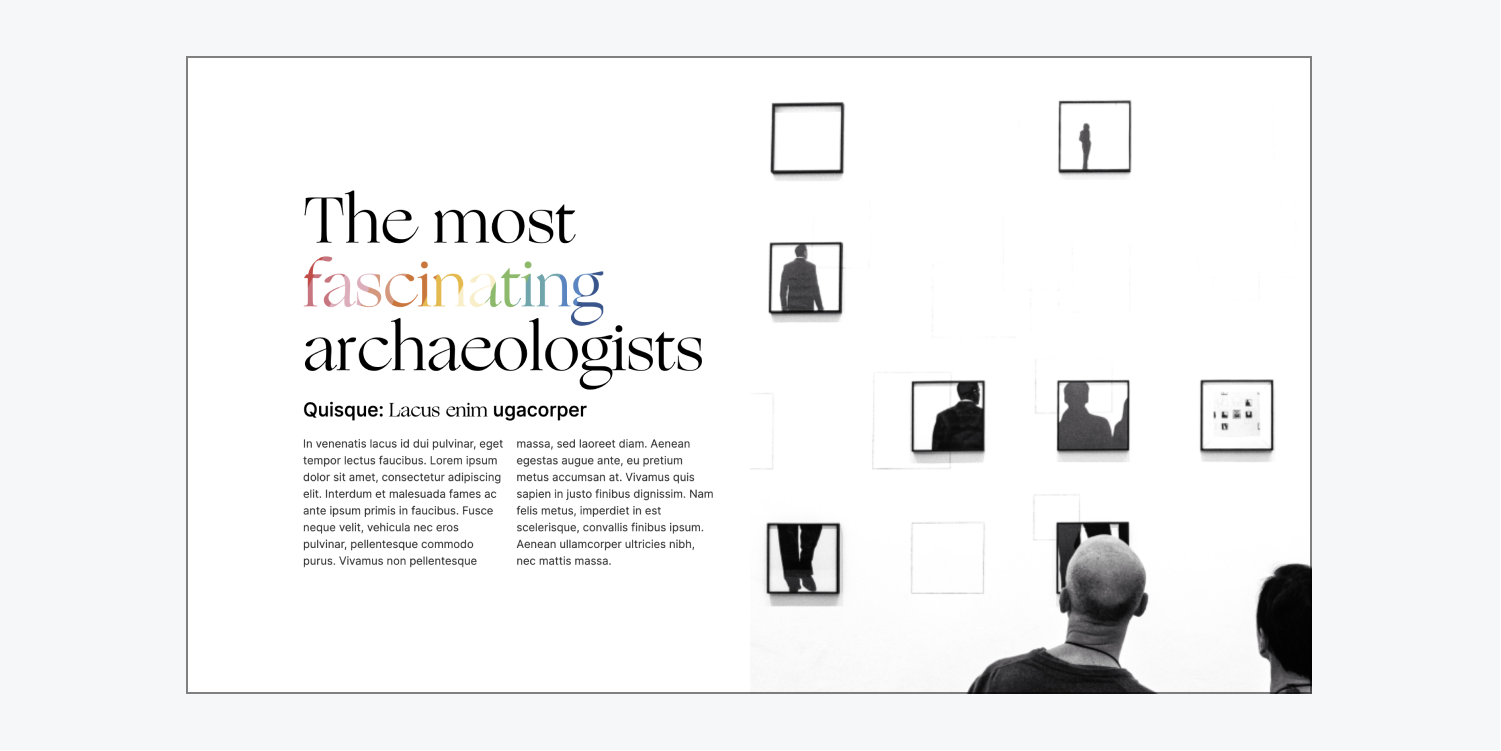
Combine the power of text spans and image text fills to create Headings that stand out — all while still remaining selectable and search engine friendly.
In this lesson you'll learn:
- How to wrap text with a span
- How to add a background image to the text span
- How to clip the image background
How to wrap text with a span
To affect specific text within a Heading, add a span to it:
- Choose your Heading and double click it to begin editing
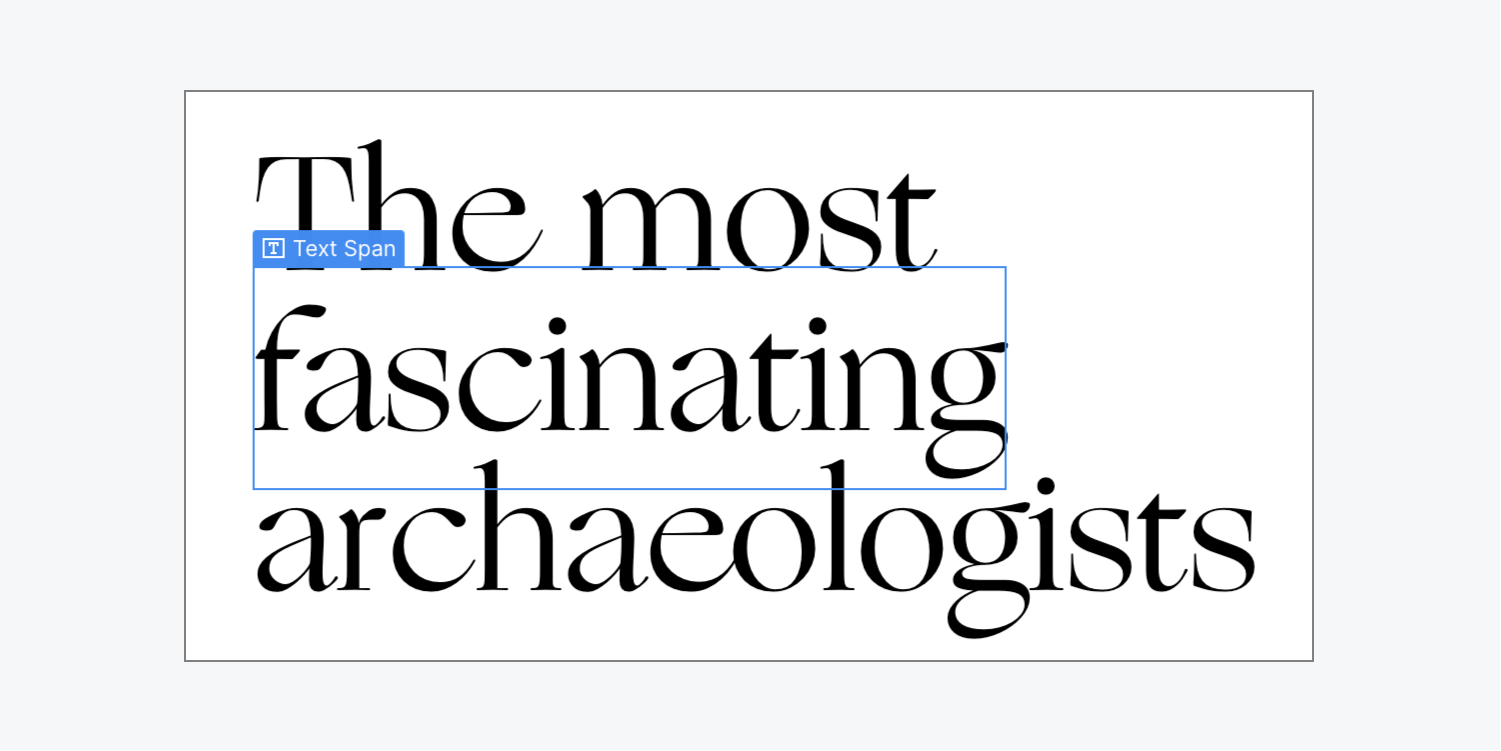
- Select the word or words you want to add to the span
- Select the Wrap with Span "brush" icon in the options above your selection

Great! Now you have a span created in your Heading.
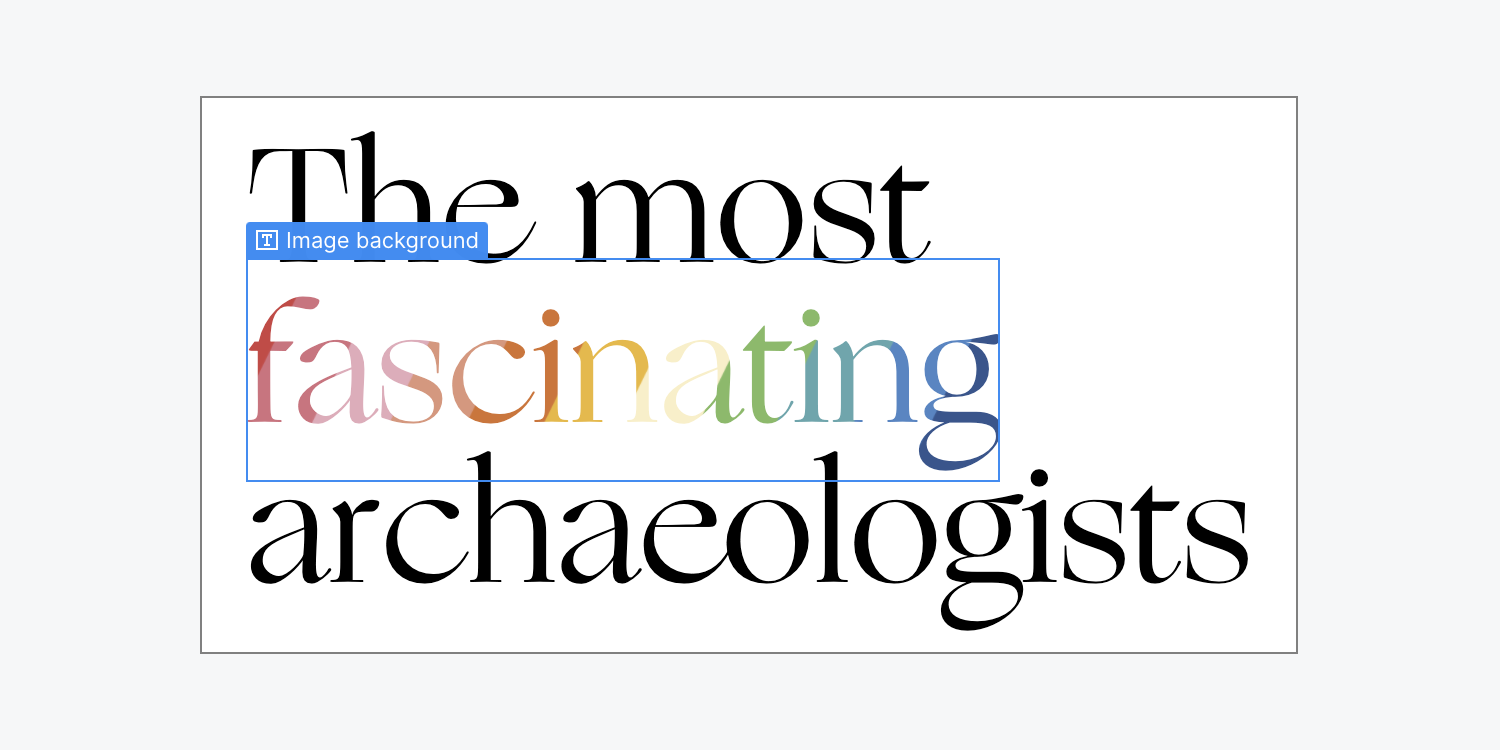
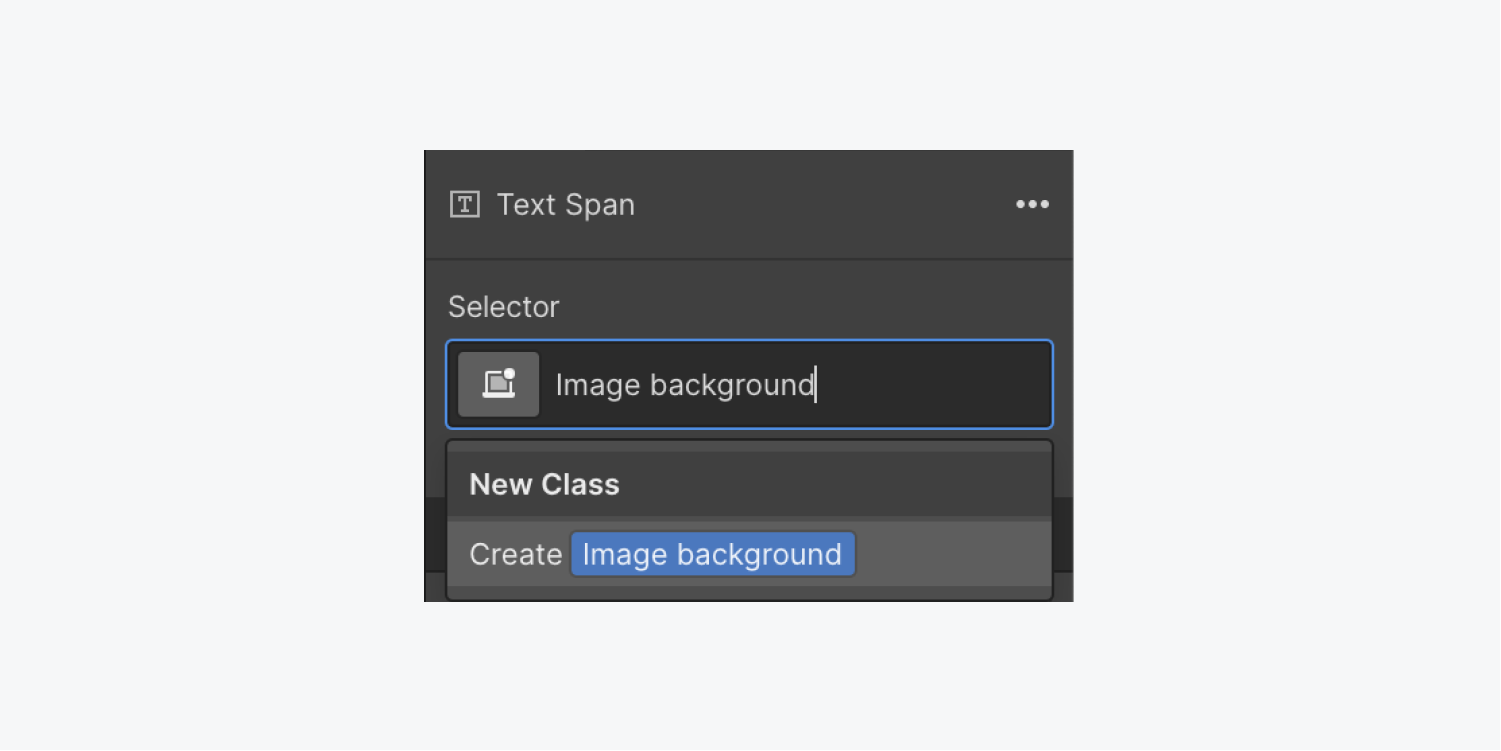
Don't forget to add a class to your span to keep your styling organized (e.g., "Image background).
Read more about inline text formatting using text spans.
How to add a background image to the text span
Let's add a background image to the text span — this image will appear within the text:
- Open Style panel > Backgrounds
- Click the Image and gradient "plus" icon
- Click Choose Image to select the image for your text fill
- Set the Size to Cover
- Click a dot under Position to adjust how your background image is displayed (e.g., select the center dot)
Read more about background images.

Important: Be sure to check your text span's image color contrast and legibility to ensure the text is accessible with its background. Learn more with our accessibility course.
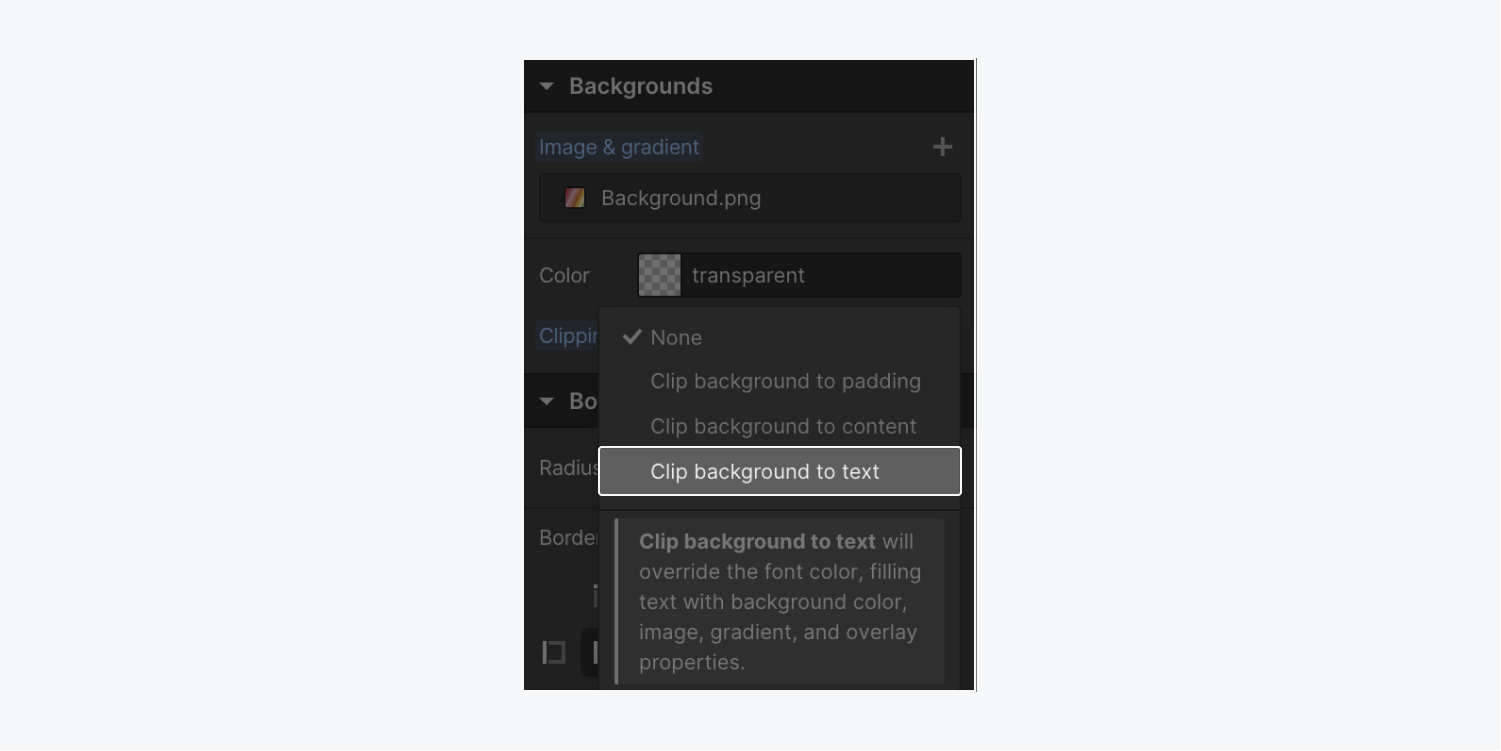
How to clip the image background
Finally (this is where the magic happens), let's clip the image background to the text span:
- Select the text span
- Open Style panel > Backgrounds
- Choose “Clip background to text” from the Clipping dropdown menu
Read more about gradient and image text fills in the Webflow Designer.
And that's it! You've created a visually intriguing Heading on your site to wow your site visitors.